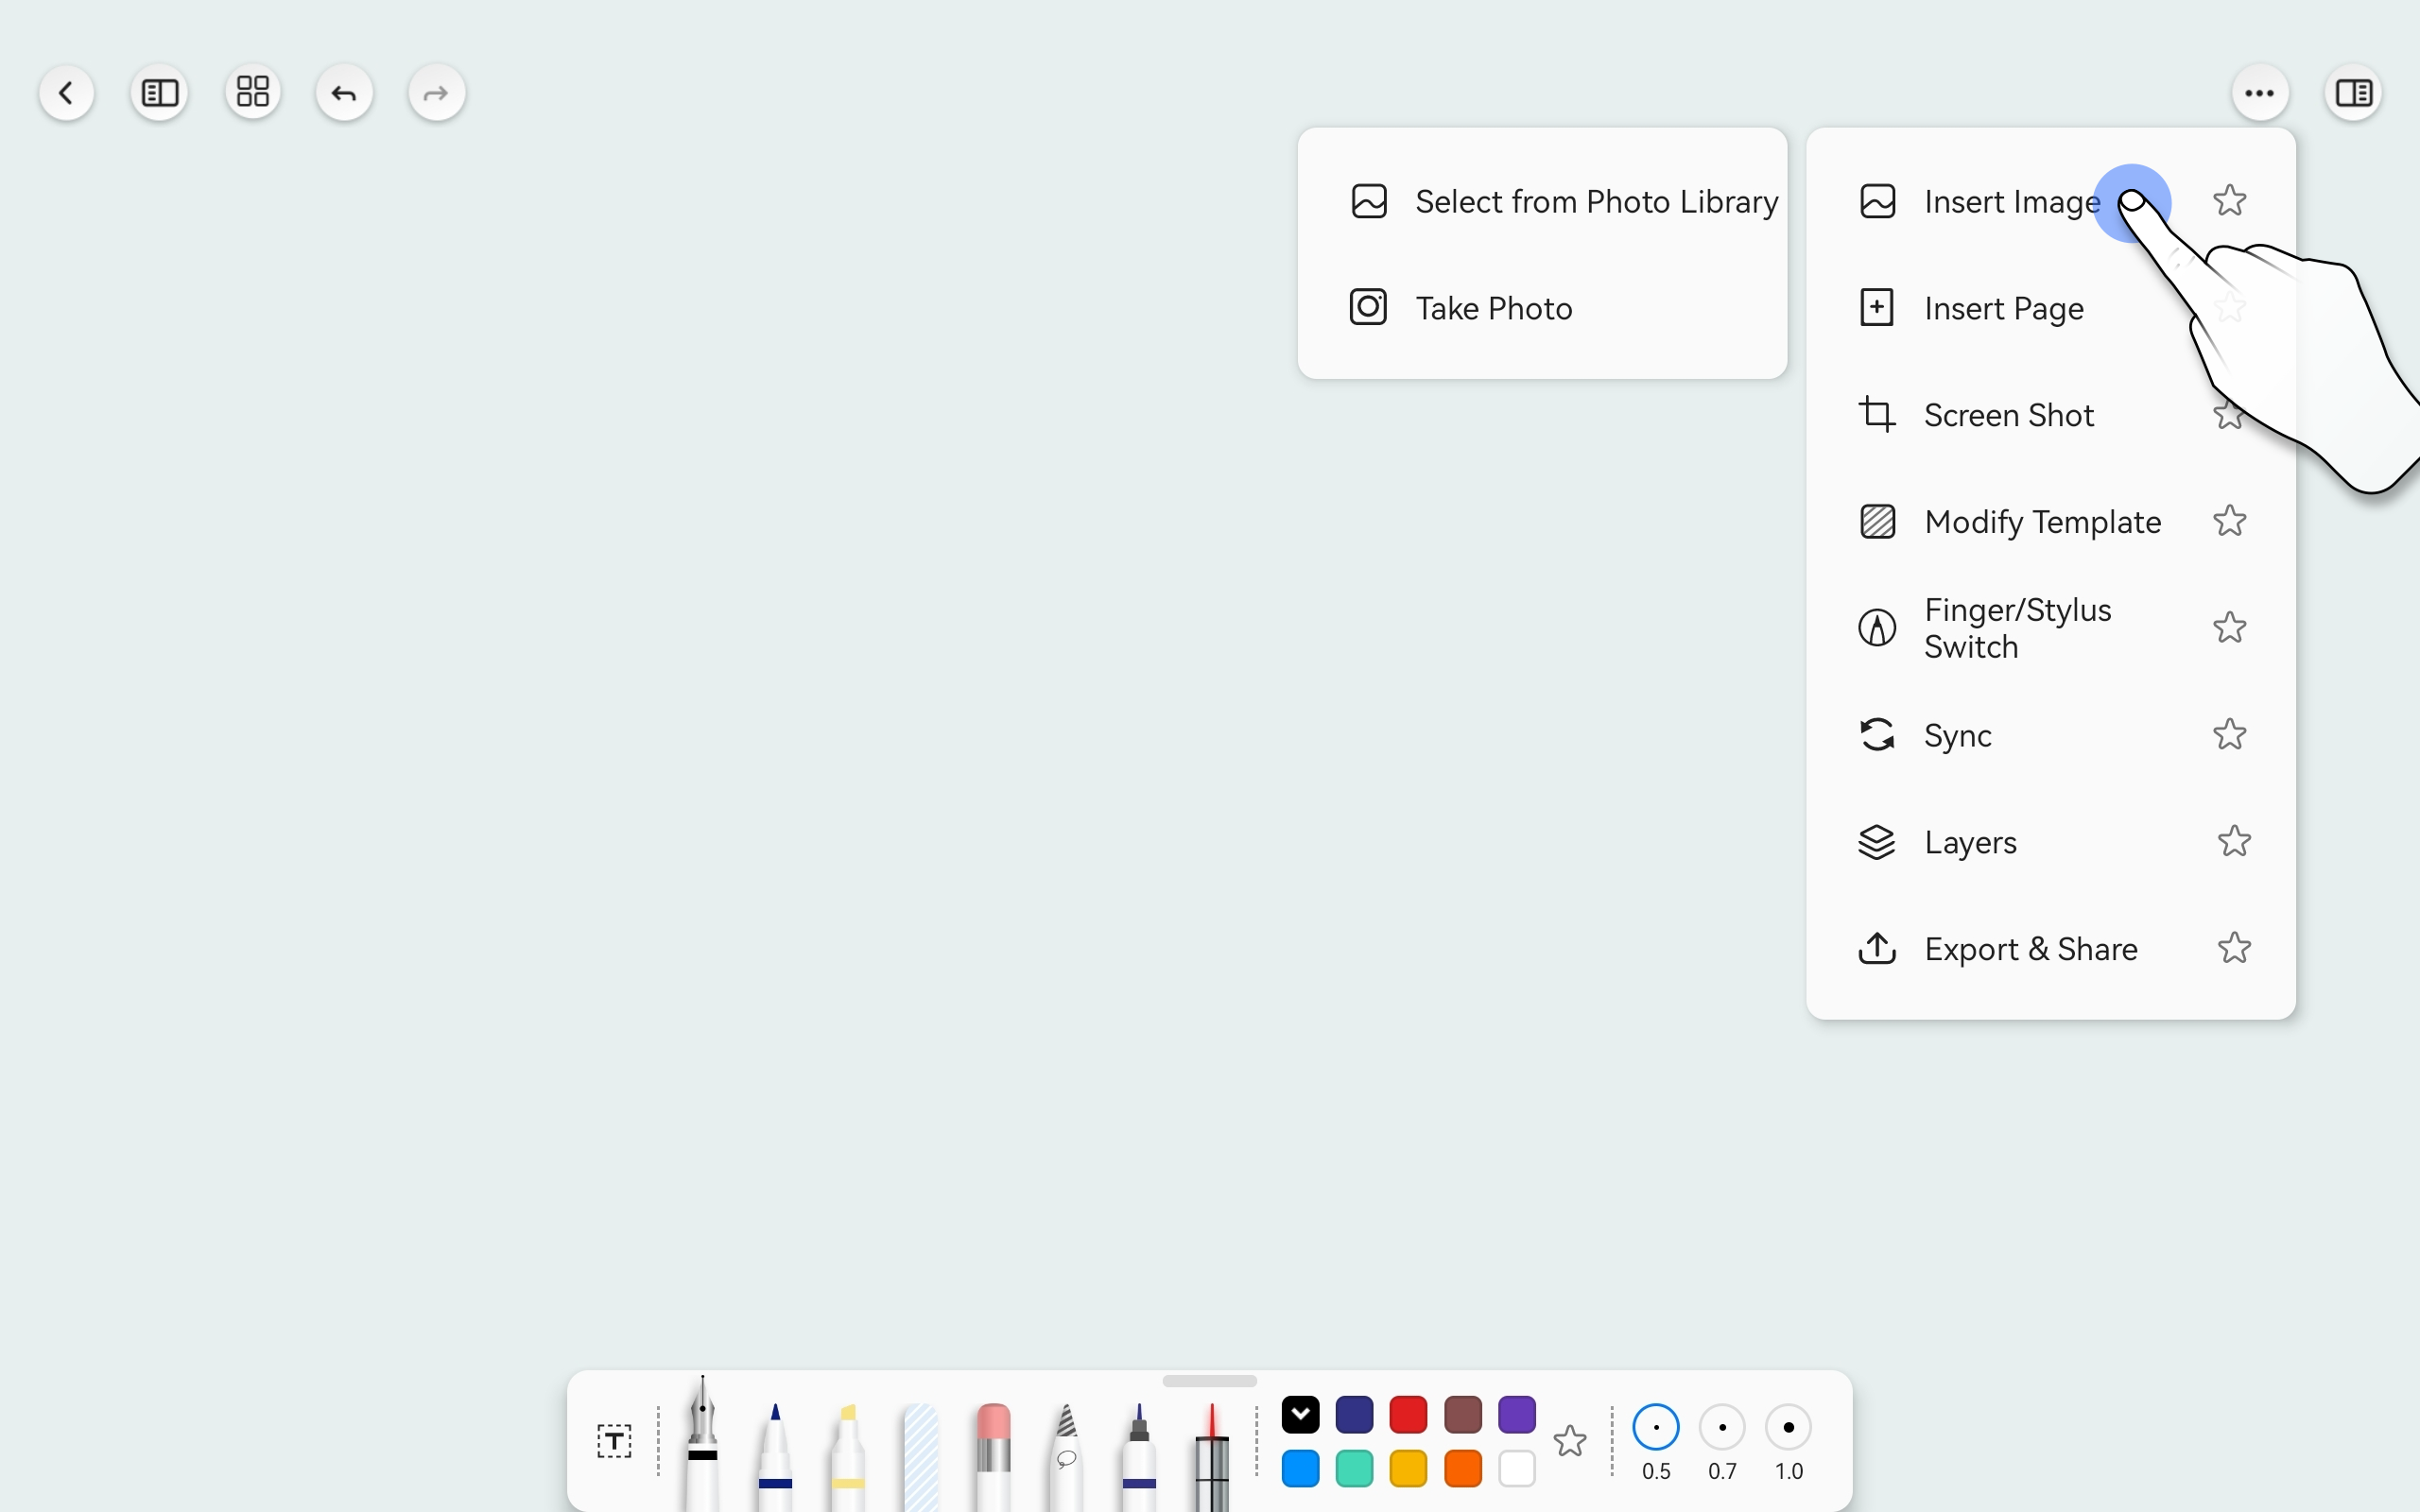
Inserting Images
- Click on the "Insert Image" icon on the Title Bar.
- Choose to "Select from Photos" or "Take a Photo" to insert an image.
- After the image is inserted, you can immediately adjust its size and position. Click outside of the image to exit image editing.
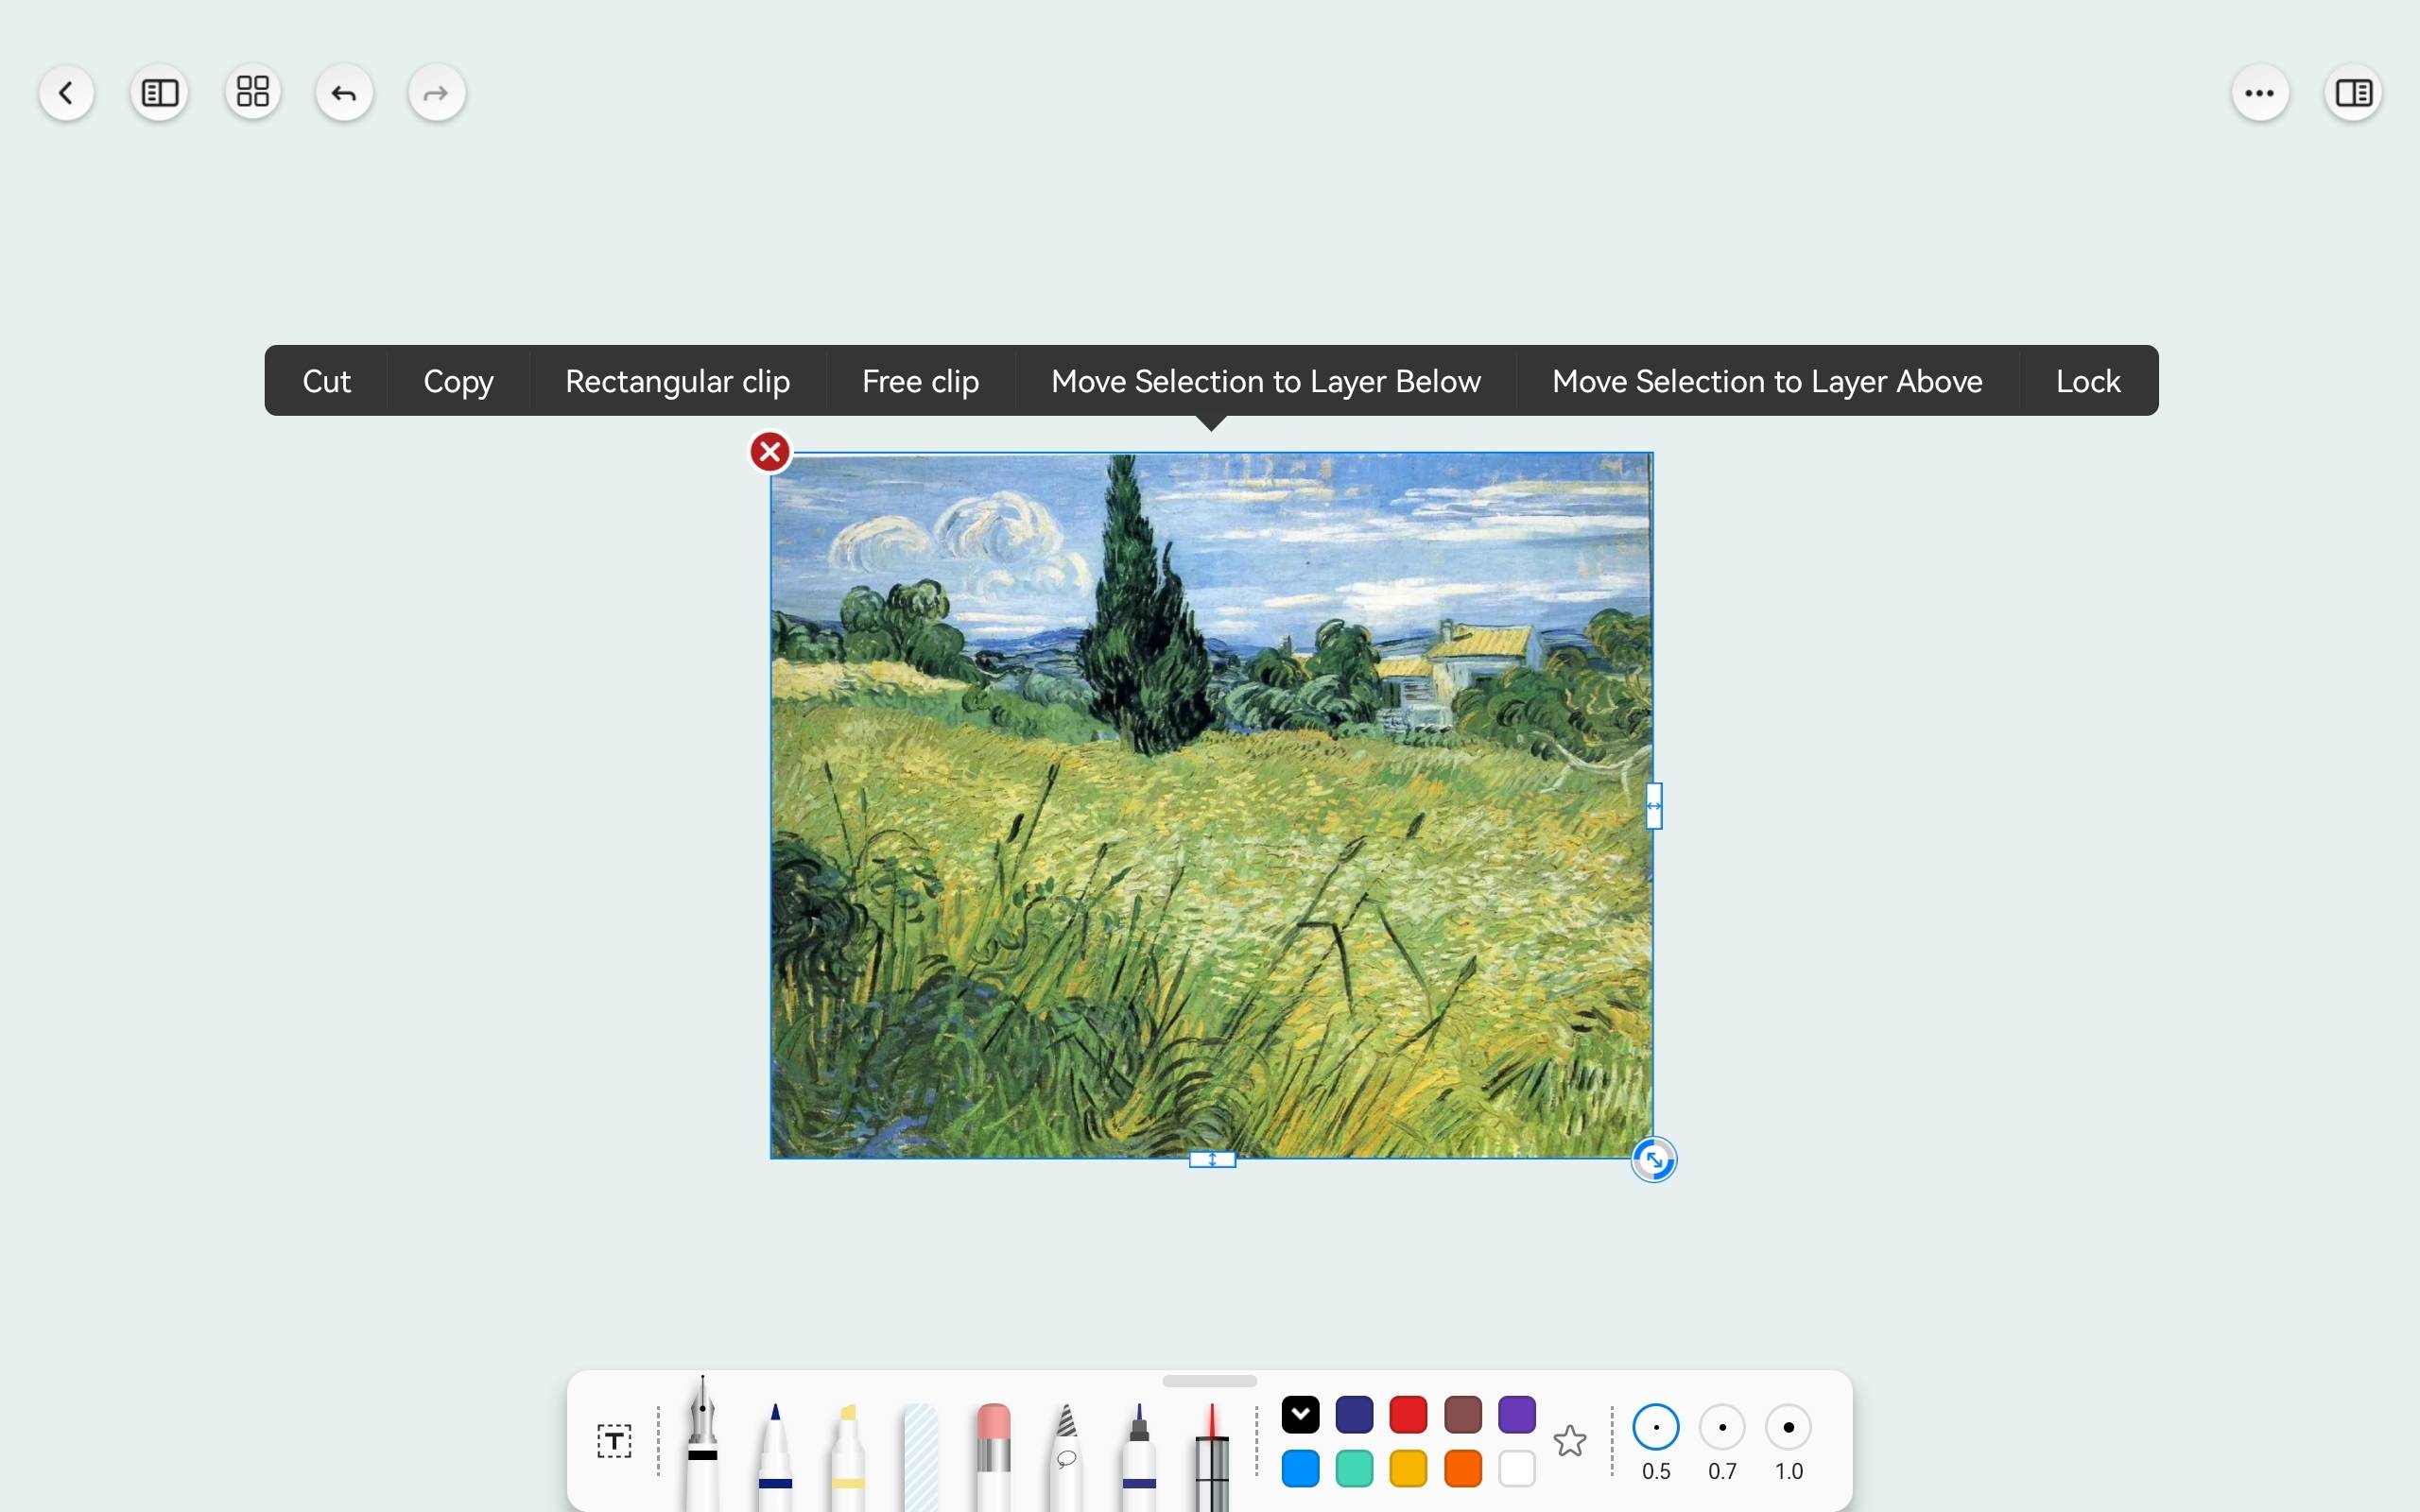
Editing Images
- Long-press the image for 1 second to put the image back into edit mode.
- In the image editing state, you can perform actions such as move, copy, crop, rectangular crop, freeform crop, and locking.
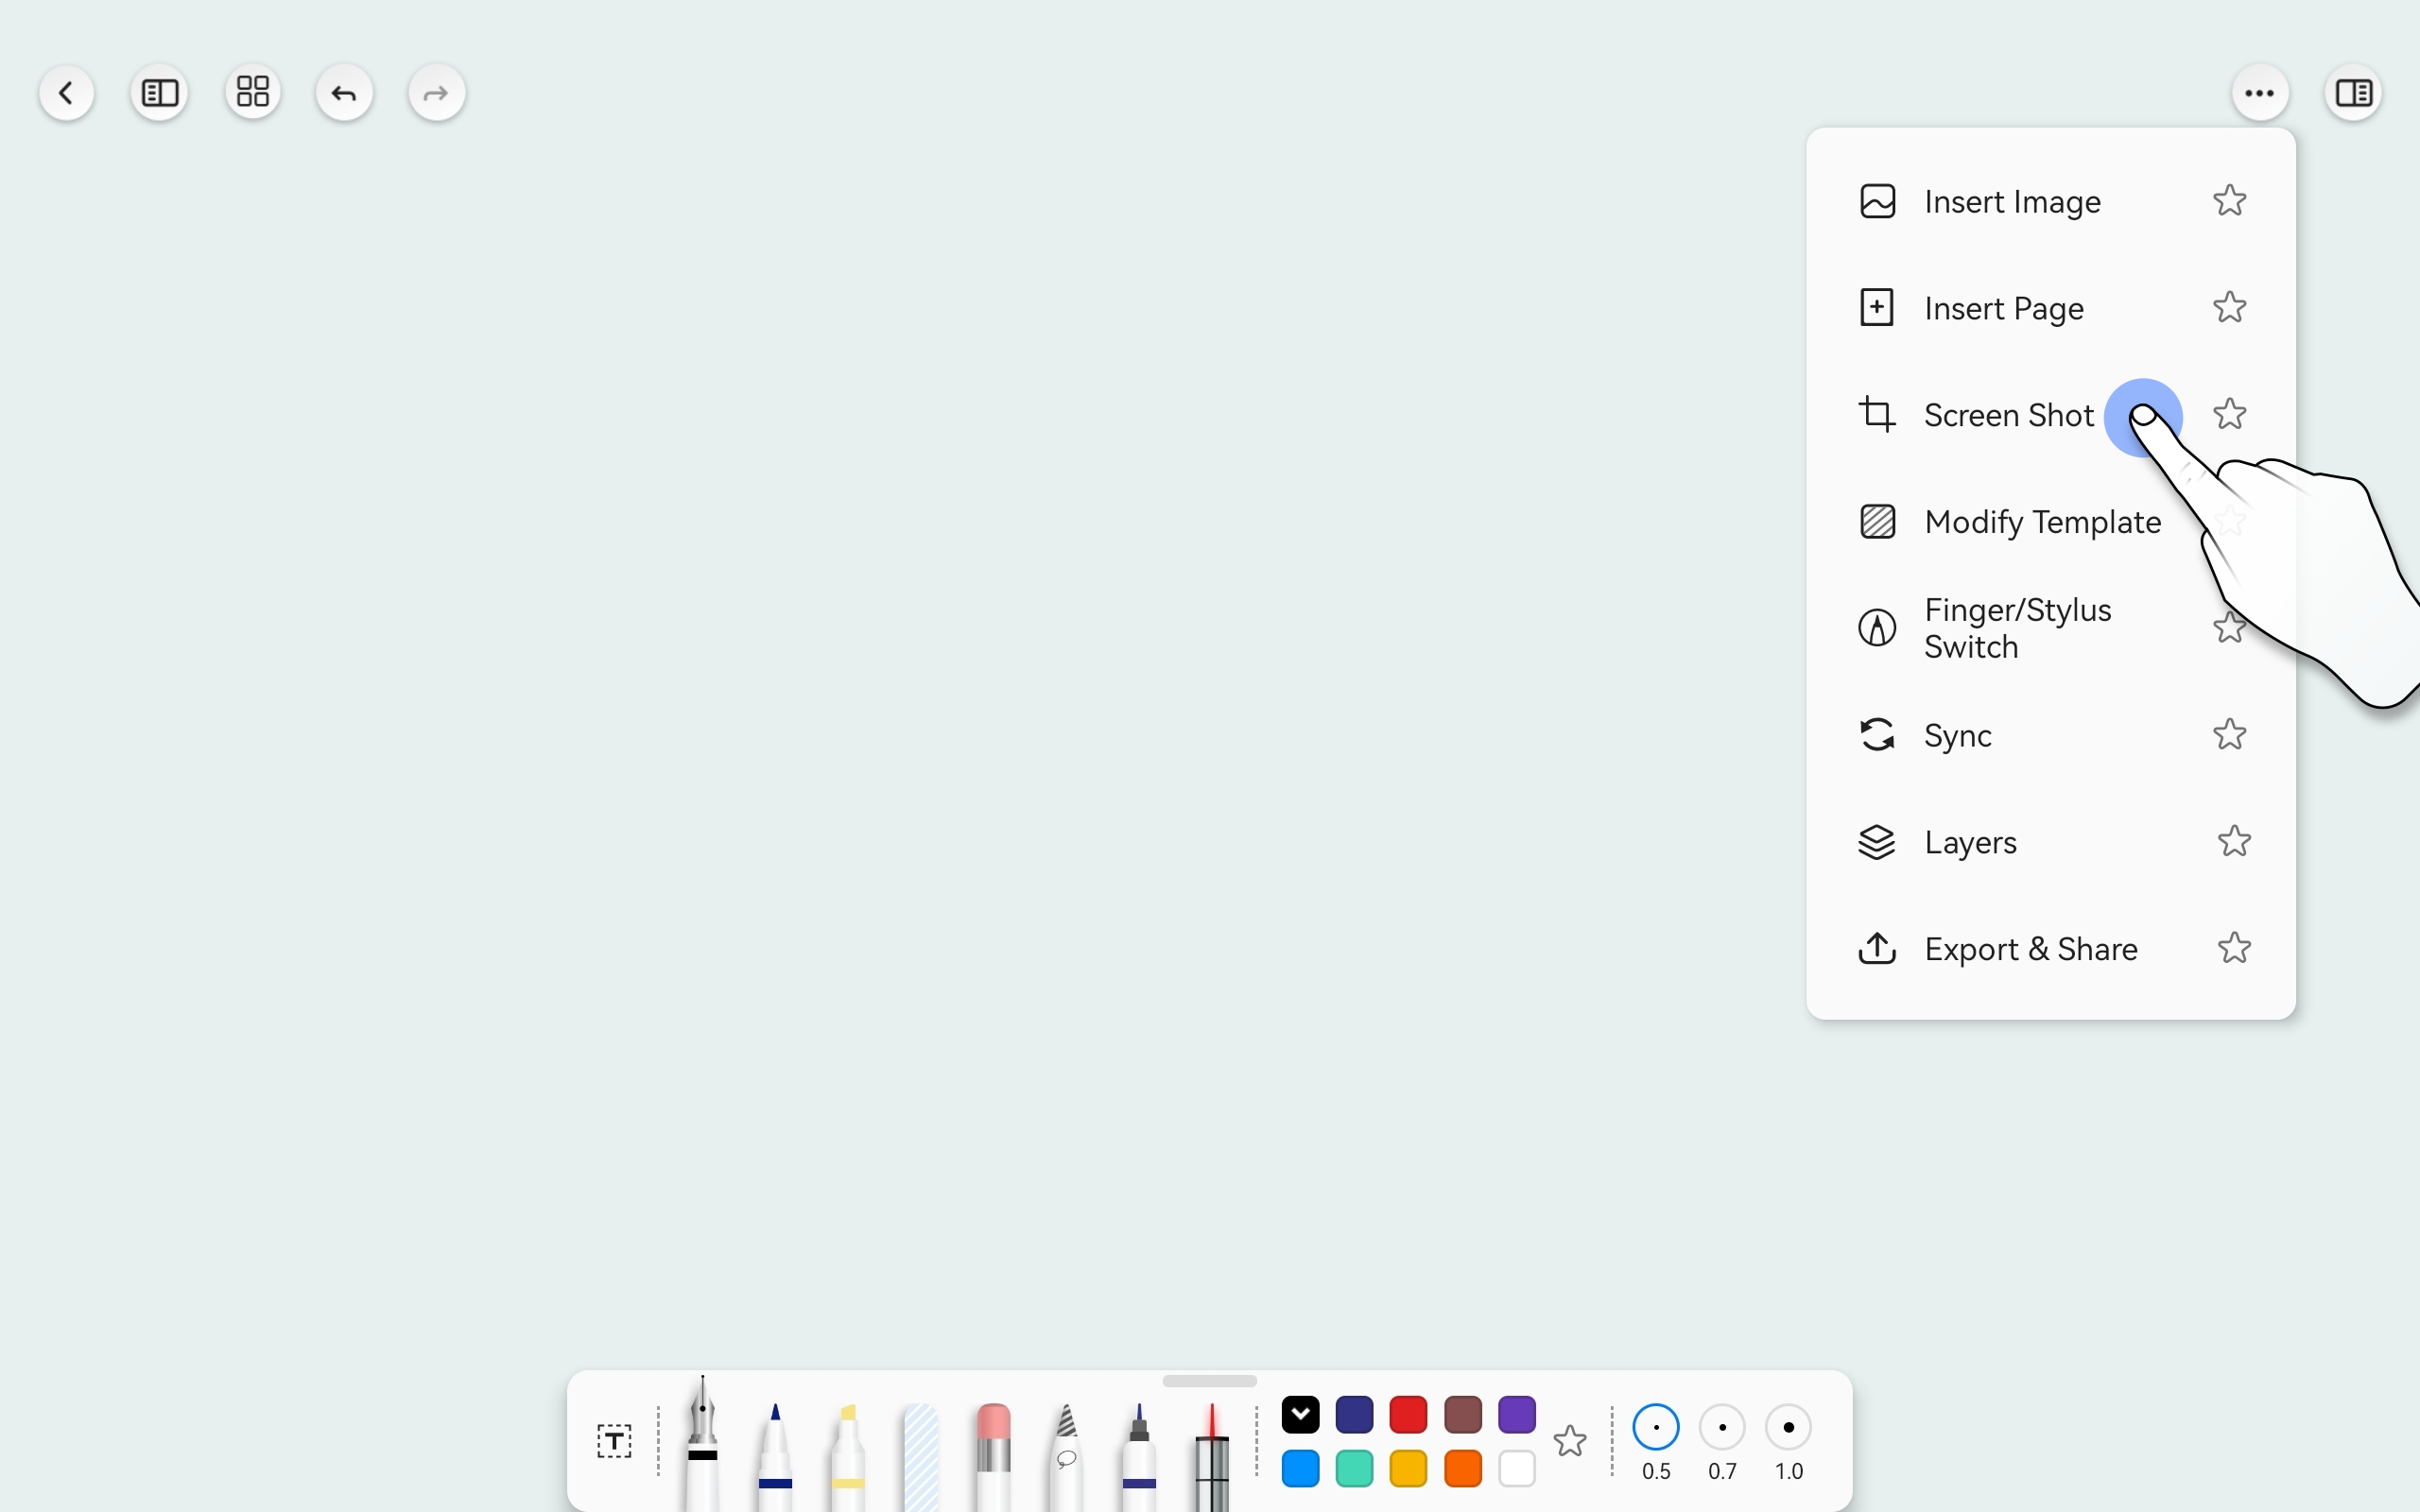
Quickly Capture Screenshots and Insert into Notes
- Click on the "Screenshot" icon on the Title Bar to quickly capture the desired content and insert it into the document at the specified location.
- This feature is suitable for use in split-screen mode between different apps, for example, one screen displaying a webpage, and the other screen for taking notes. Alternatively, one screen playing a video, and the other screen for taking notes.
- Note: You need to grant relevant system permissions to use this feature. The system's notification during screenshot capture is a mandatory action, and our software cannot control it.
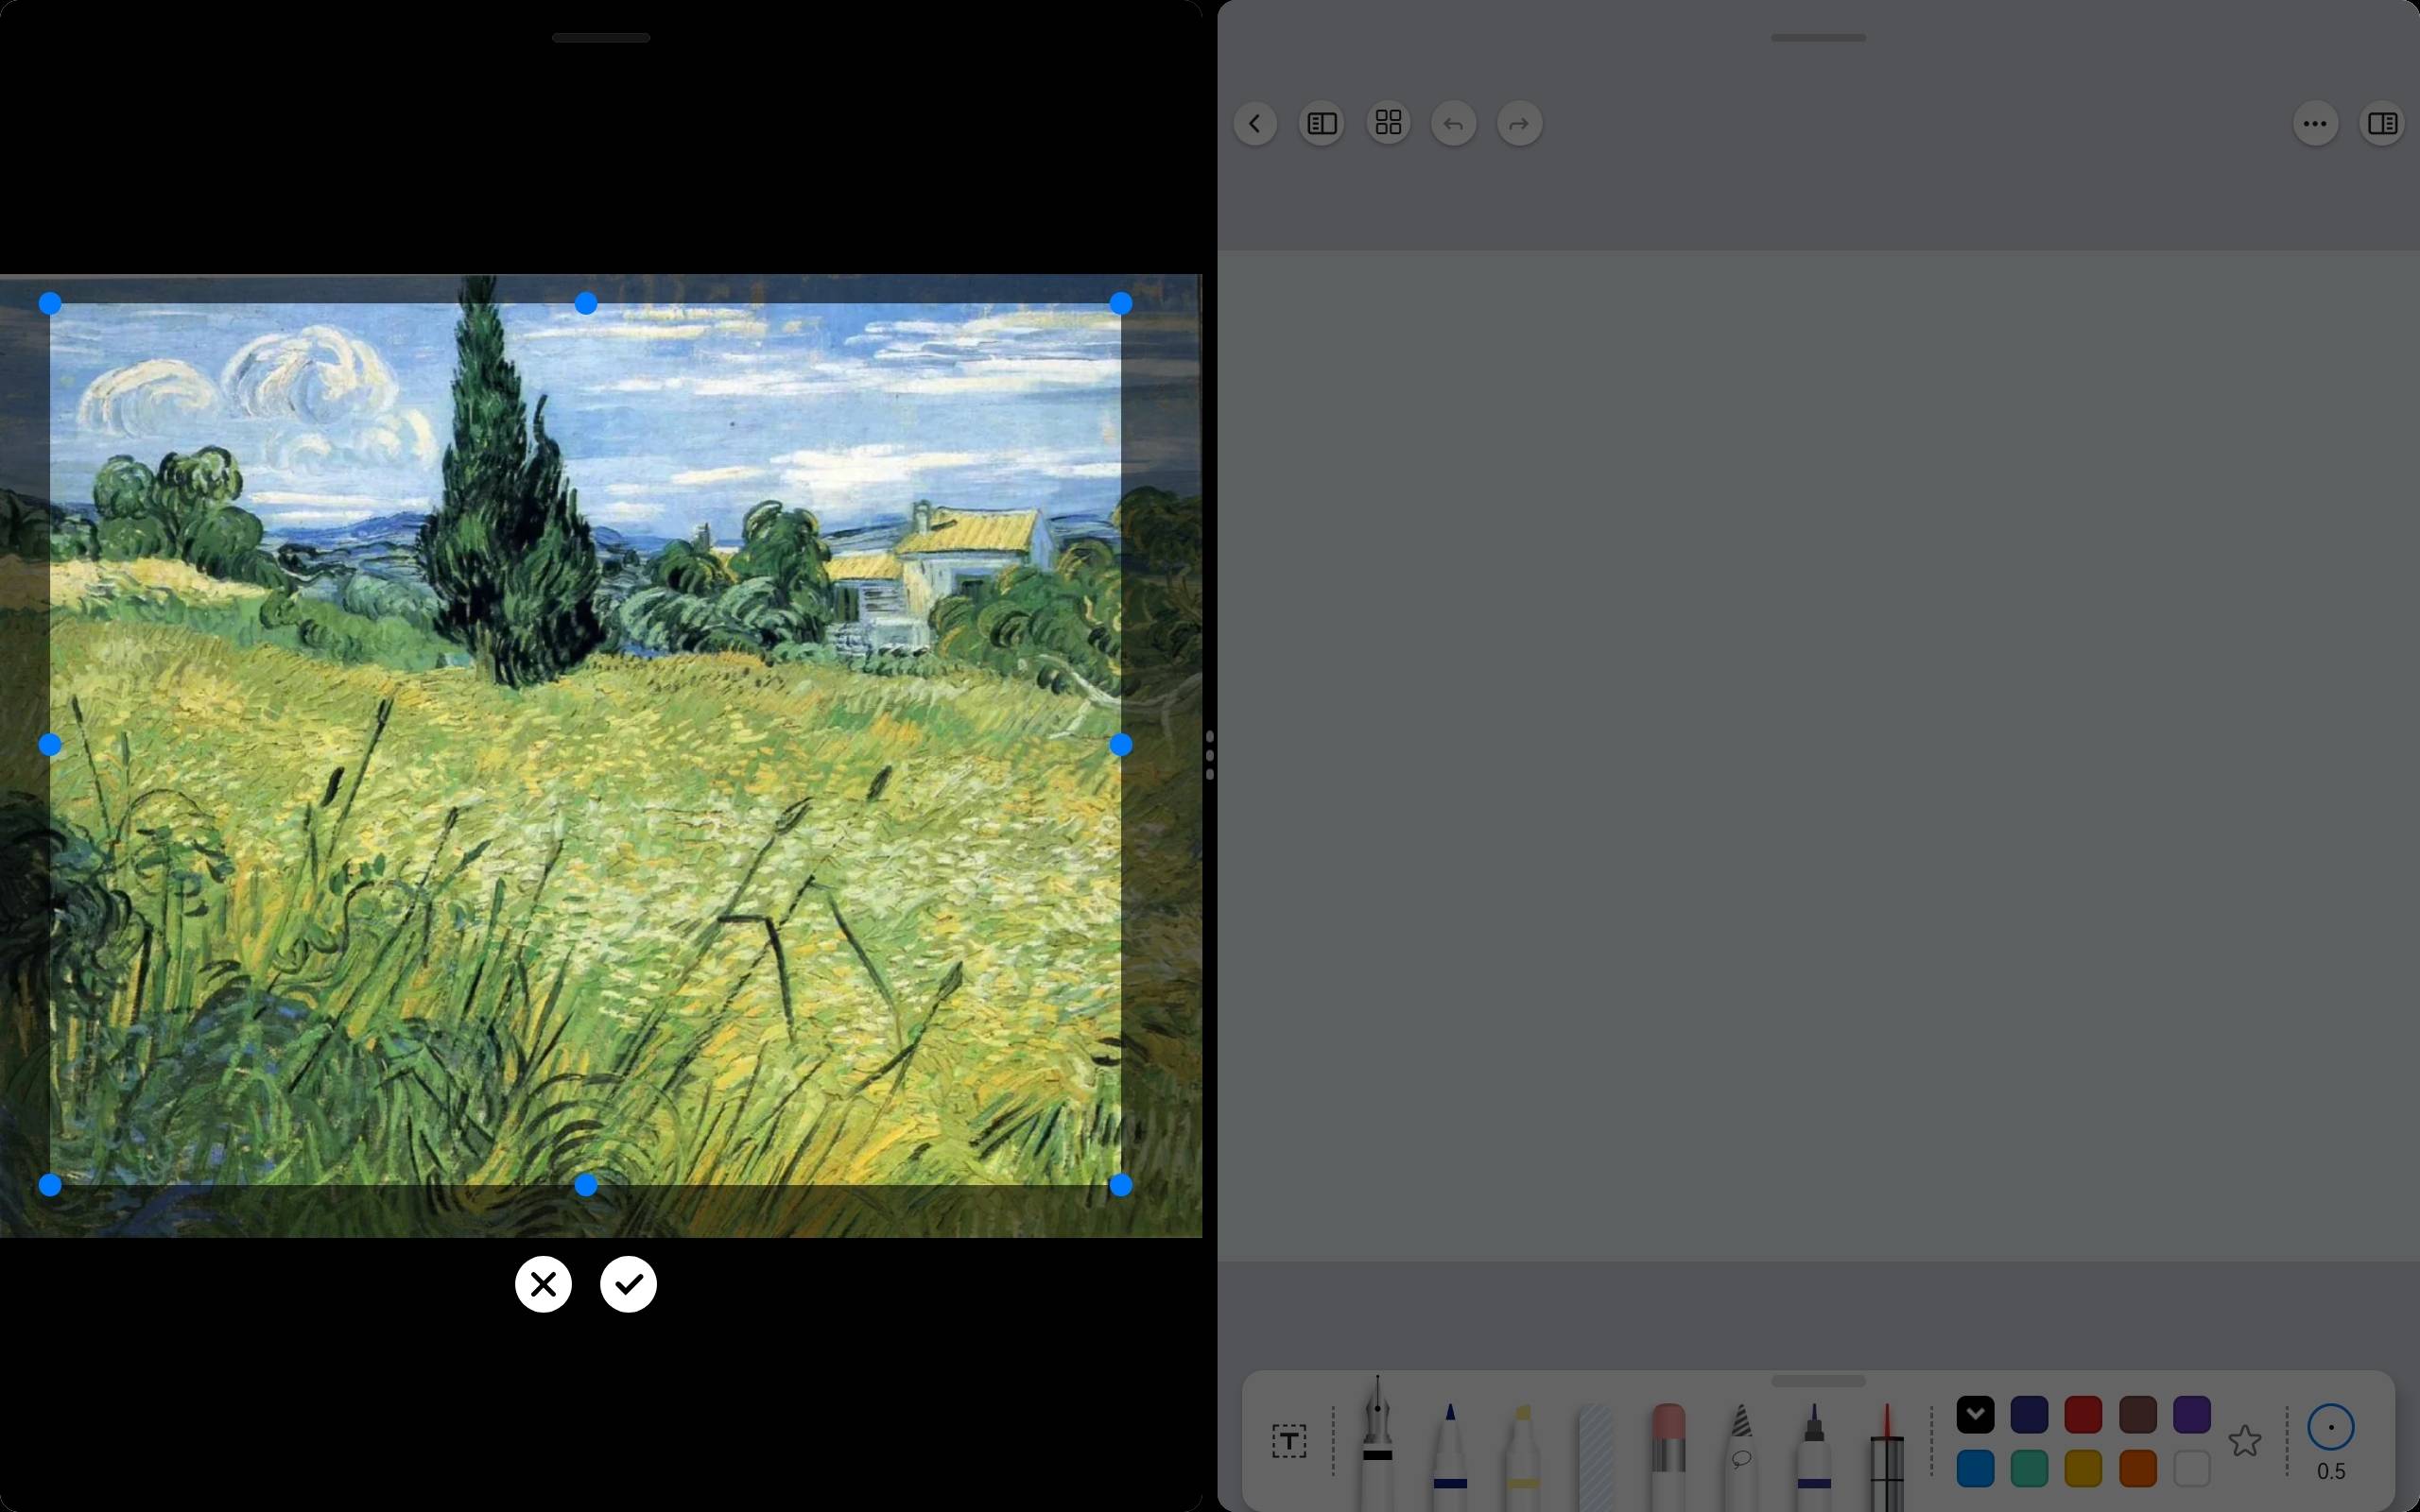
How to Use:
- After clicking the "Screenshot" button, a screenshot frame will appear.
- Adjust the capture area and click the "Confirm" button. The captured image will be inserted at the specified location.
- When you want to edit the screenshot again, you can long-press the image for 1 second to put it back into edit mode.